Please note that first task is active. Now, we need to work on the first task according to the instructions and complete it. This must be completed before the next task becomes active.
Completing the first task: If you mouse over the instructions, it says,
“Upload the new specifications for the mold”
Let us upload the specs using the “Documents” tab next to the “Workflow”.

Click on “Documents” and click “Upload Document.”
The document is now under the workflow.

You can also add an existing document from Kenesto. Let us go back to the “Workflow” and click on the first task.

Click “Complete Task” to finish the task.
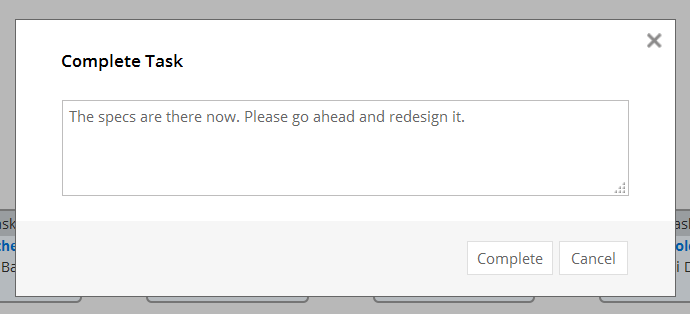
Enter a note and click “Complete”. The first task is completed now. The workflow now proceeds to the next task. The second task is now active.

When you move to the next task, the recipient is notified, in this case: Mike is notified of the task assignment through Kenesto notification: two ways, in the tool as well as email. The notification is on the top right and displays like the following:

Mike also receives an email for the task assignment and another for the completion notes. See below:


Let us go through the process of completing the next steps.


Once the workflow is complete, you can access the workflow using “My Completed Workflow” selector.

Click on the workflow to open the workflow. You will be able to access the documents, etc. from the workflow as earlier.
This concludes how to use a simple workflow from start to finish.
